Hello there,
In this tutorial I would be walking you through "Dockerizing you NextJs application from start to finish.
1. Create a NextJs application
npx create-next-app docker_next
After installation
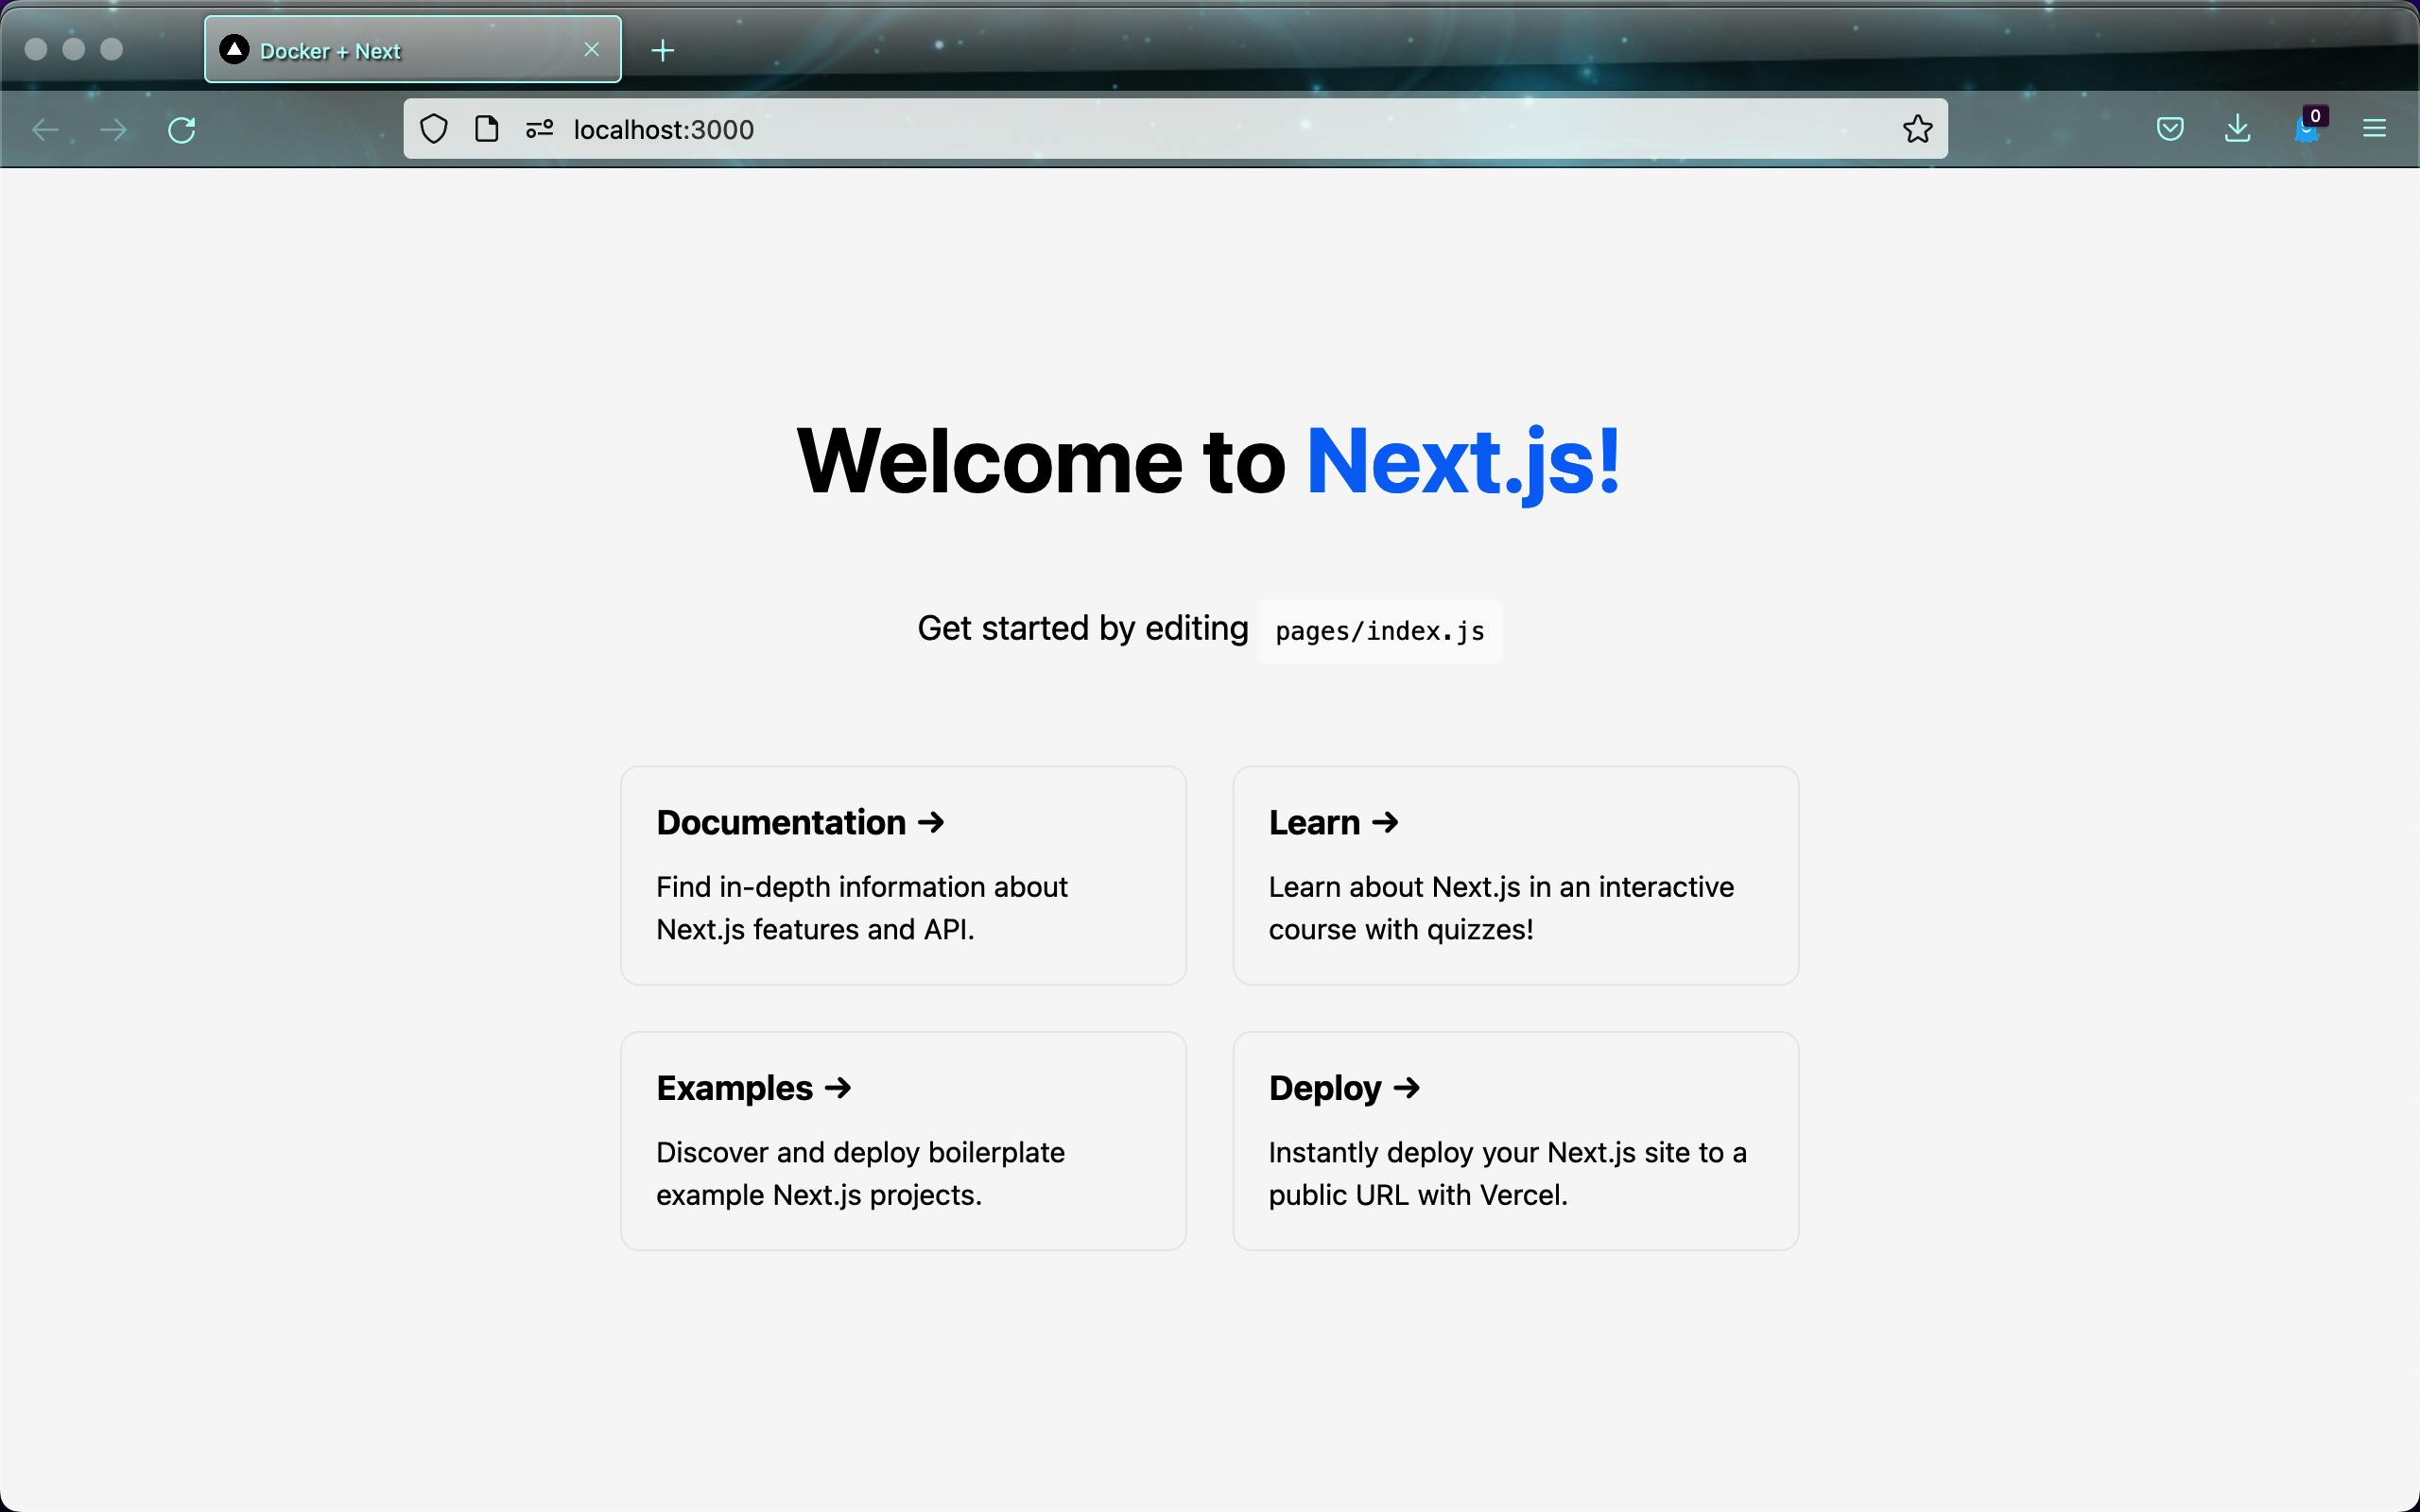
Let's go ahead and personalize the application by replacing the h1 tag in the index.js file as :
Docker + Next
2. Dockerization
In order to create a seamless experience for the developers to work on, we would be building the production application in Docker.
1. Create a Dockerfile
Go to the ./root directory  and create a Dockerfile.
```
FROM node:16-alpine
WORKDIR /app

COPY package*.json ./ yarn.lock ./
RUN yarn install

COPY next.config.js ./next.config.js
COPY pages ./pages
COPY public ./public
COPY styles ./styles

CMD ["yarn", "dev"]
```
2. Create a .dockerignore
```
# All files that are not required in our build
Dockerfile
.dockerignore
.gitignore

# Artifacts that will be built during image creation
node_modules
```
3. Create a docker-compose.yml file
```
version: '1'

services:
  app:
    image: docker_next_d
    build: .
    ports:
        - 3000:3000
```
docker-compose up --build --force-recreate
The above command builds up the image from scratch and runs the application.
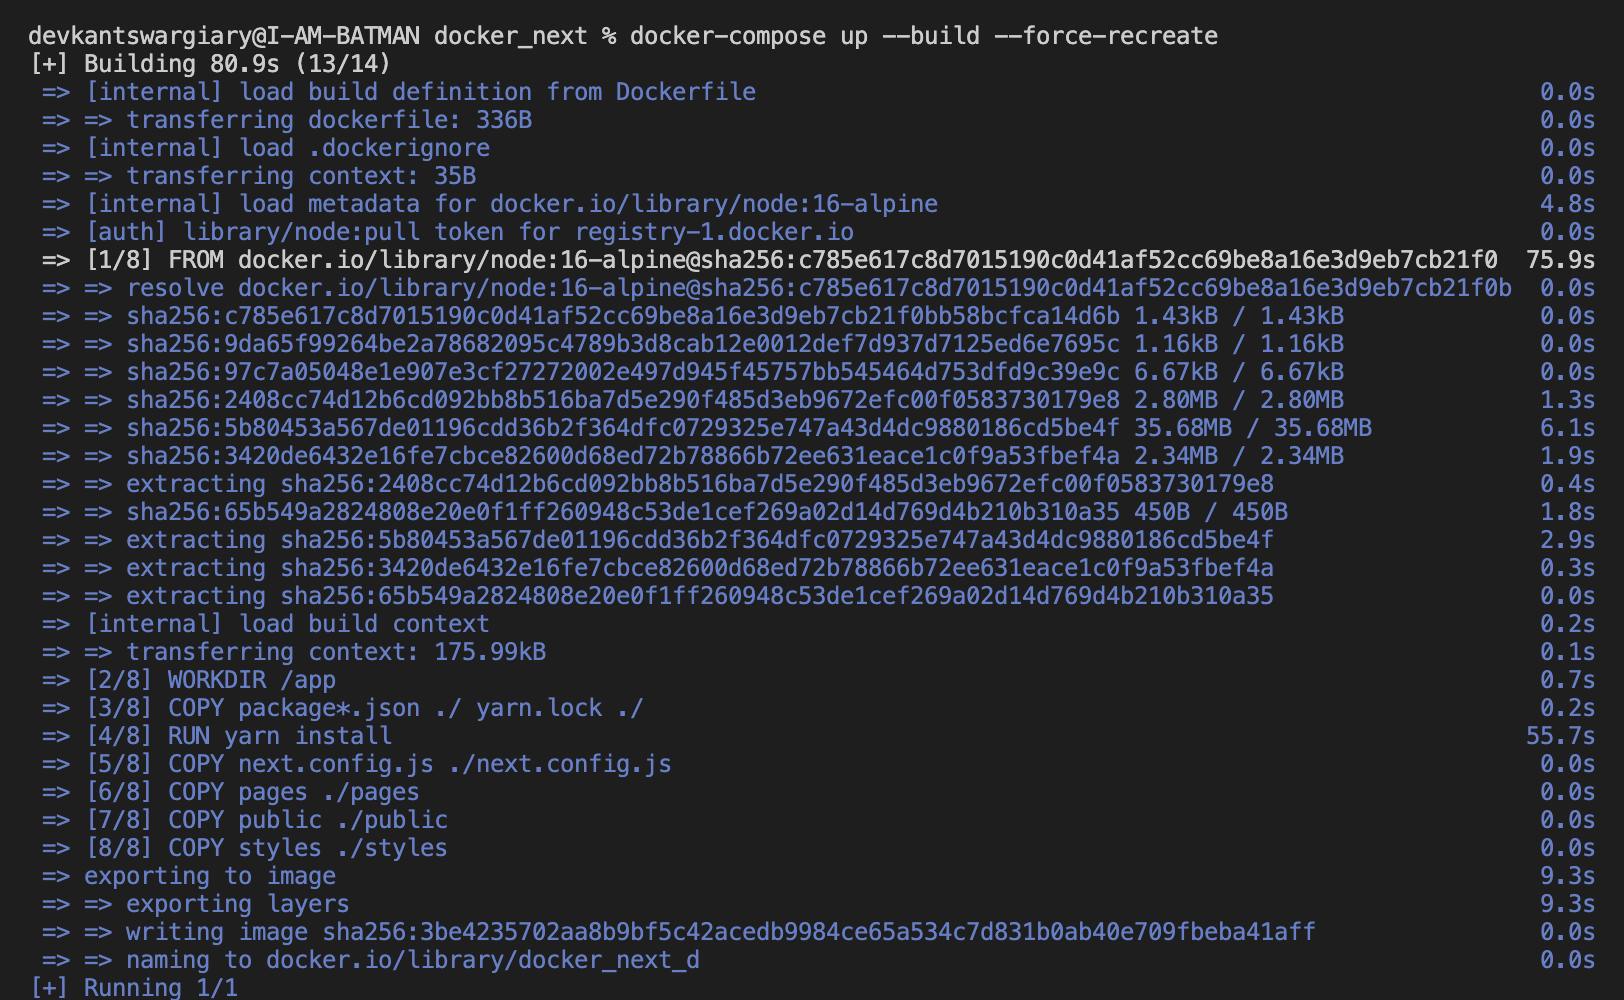
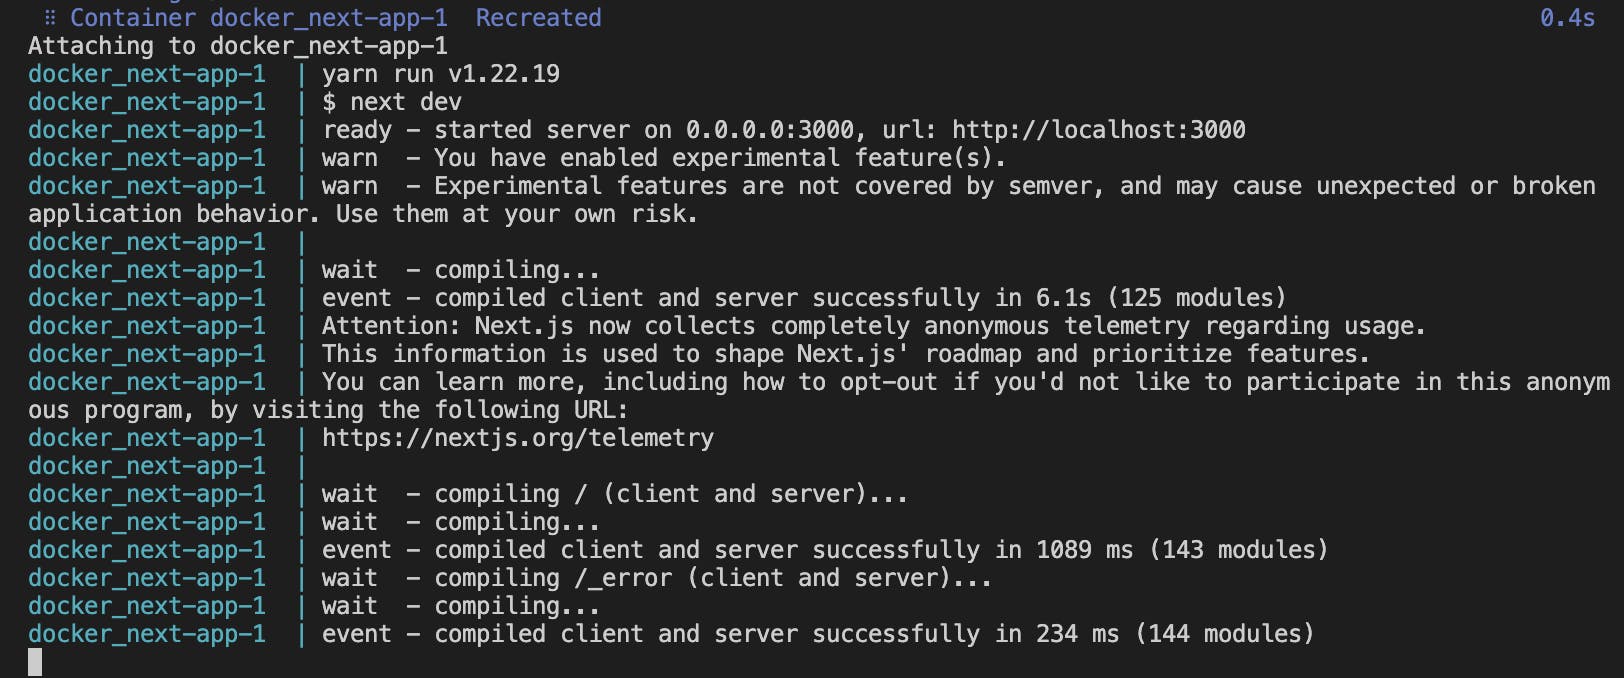
If we visit the url: localhost:3000 then it'll show application running from docker-compose file.
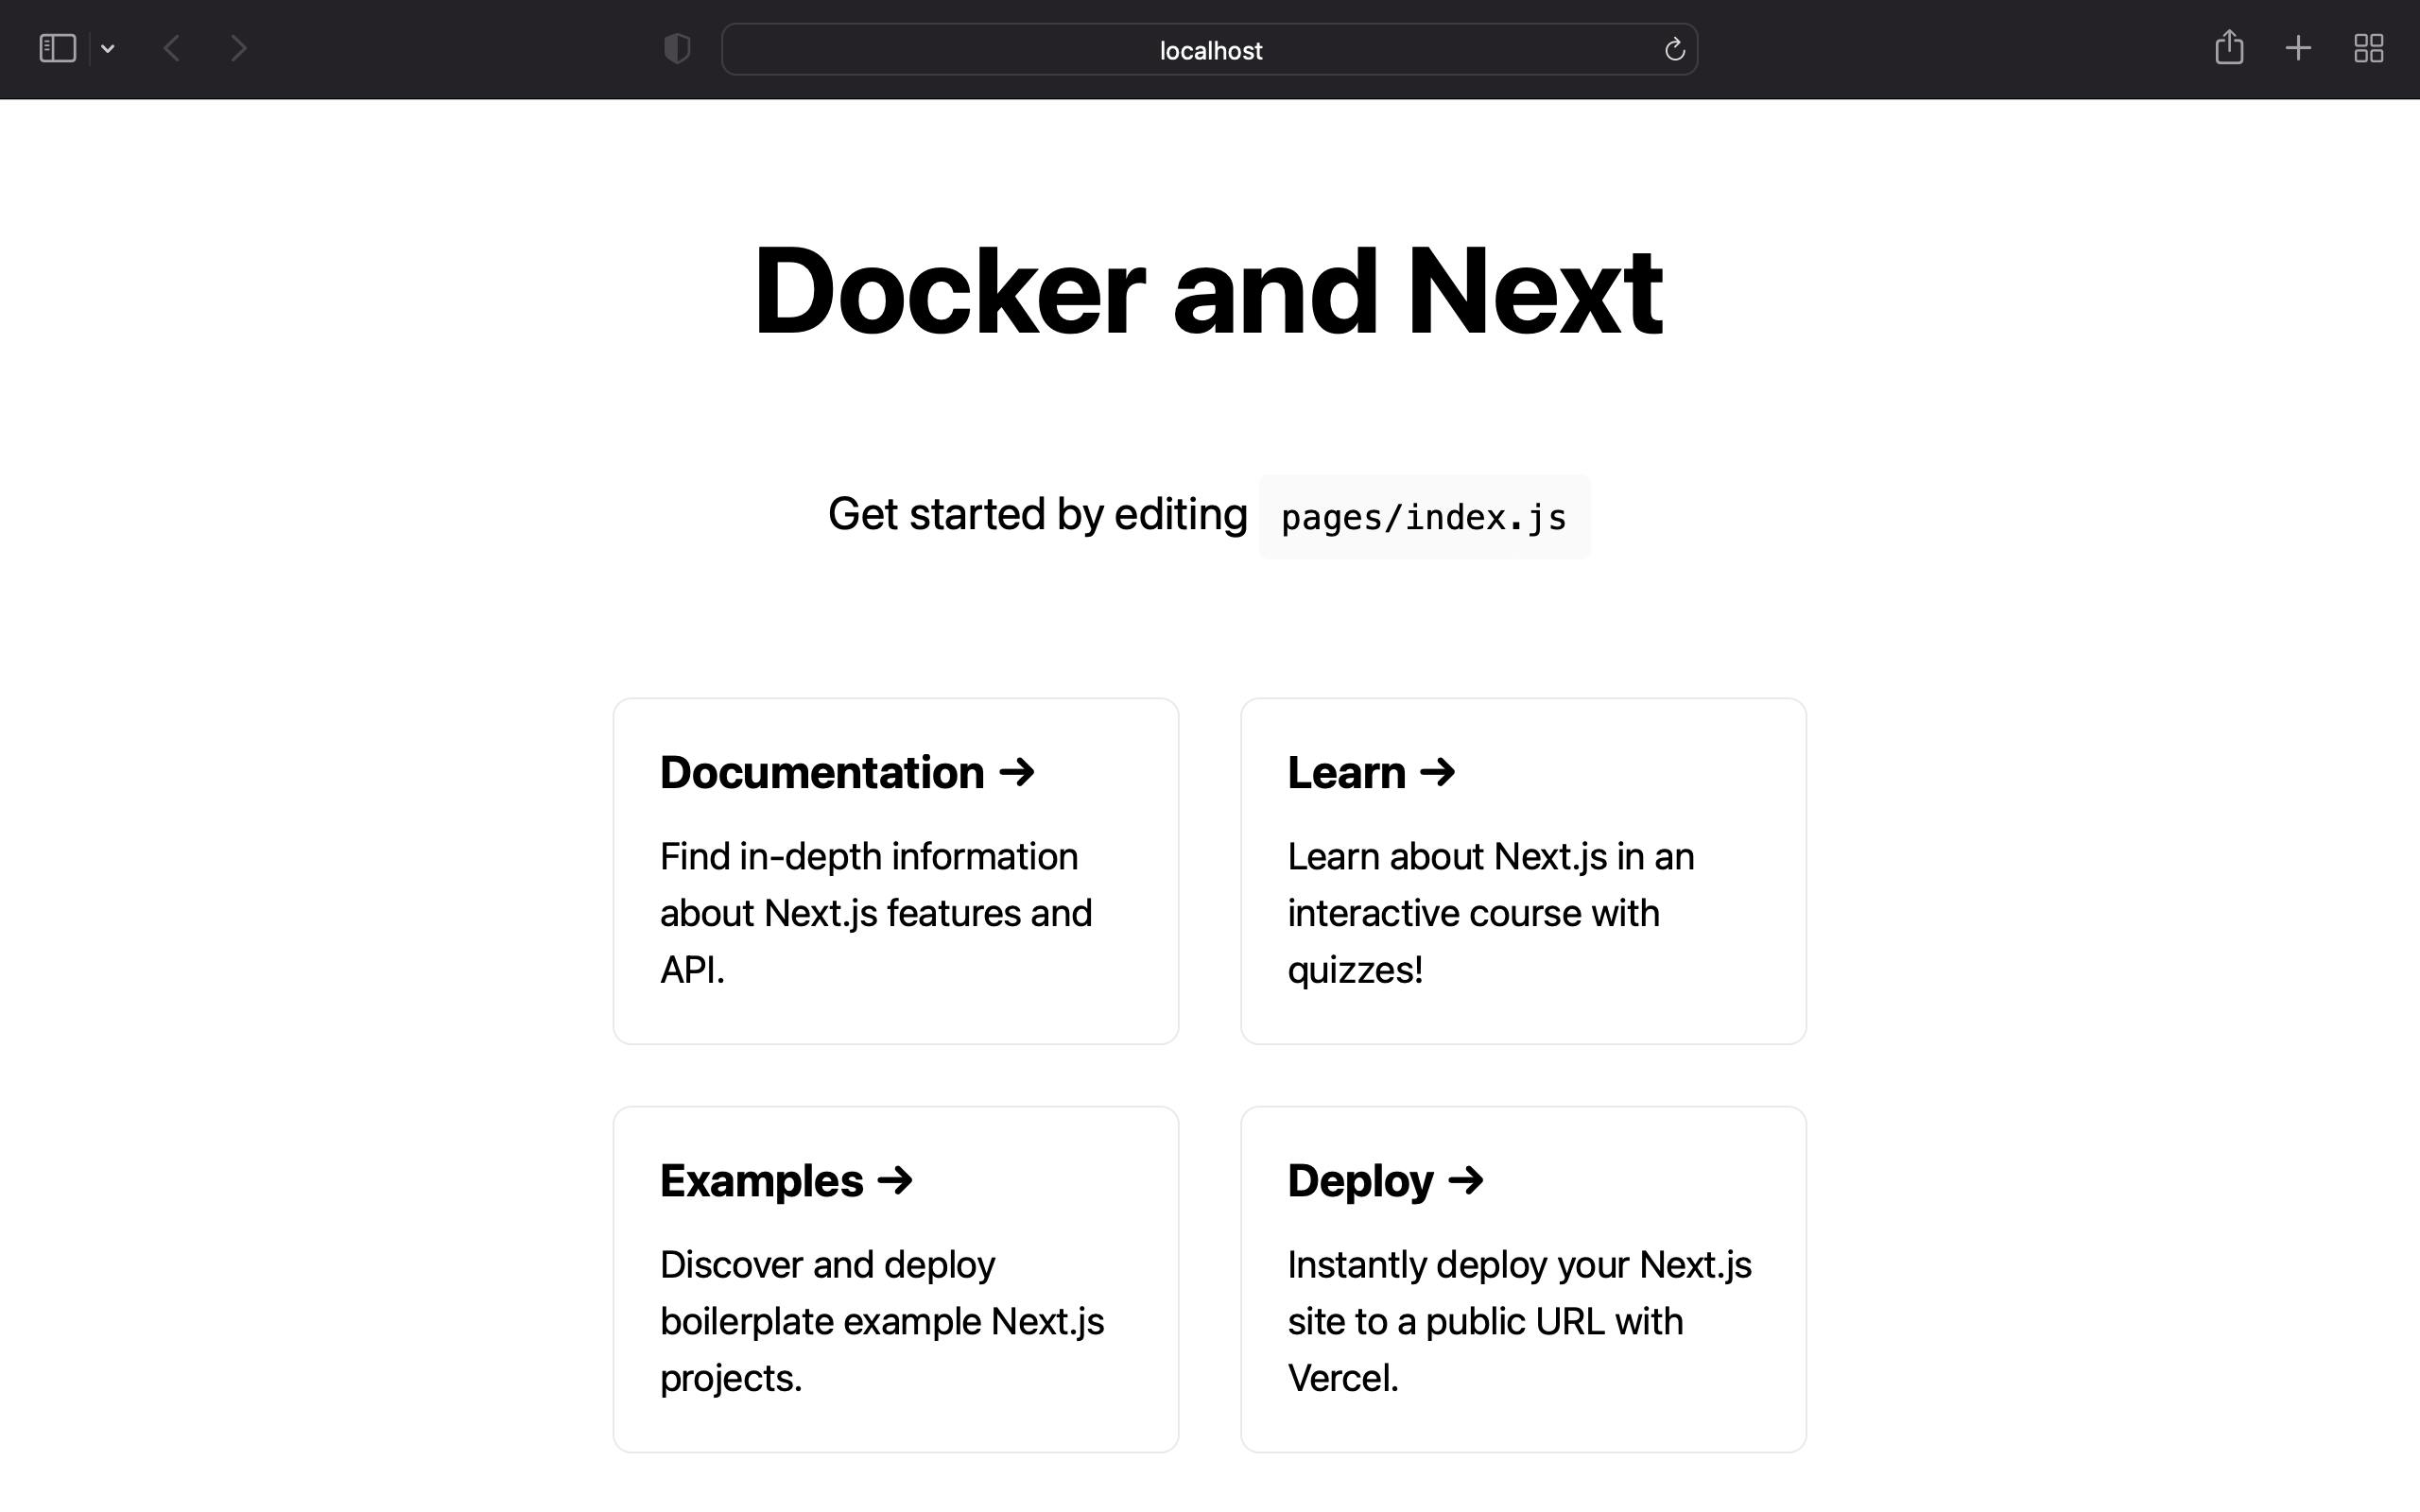
If we go ahead index.js file and edit the h1 tag as Docker and Next hello world, we would see that the change isn't reflected in the browser inspite of the page refresh. This might sound as an issue because in the development phase hot reloading is appreciated. In order to enable hot reloading we need to add a volumes layer in the docker-compose.yml file.
volumes:
    - ./pages:/app/pages
    - ./public:/app/public
    - ./styles:/app/styles
Another way of looking into this is that since the routes of index.js is:
docker_next/pages/index.js
Therefore we need to add the following for the hot reloading to be enabled.
volumes:
    - ./pages:/app/pages
We need to run the following command for the volumes layer to get embedded in the code.
docker-compose up --build --force-recreate
Now it could be seen that the previous changes made to the h1 tag in the index.js file is reflected in the local browser. And hence the hot reloading is enabled.
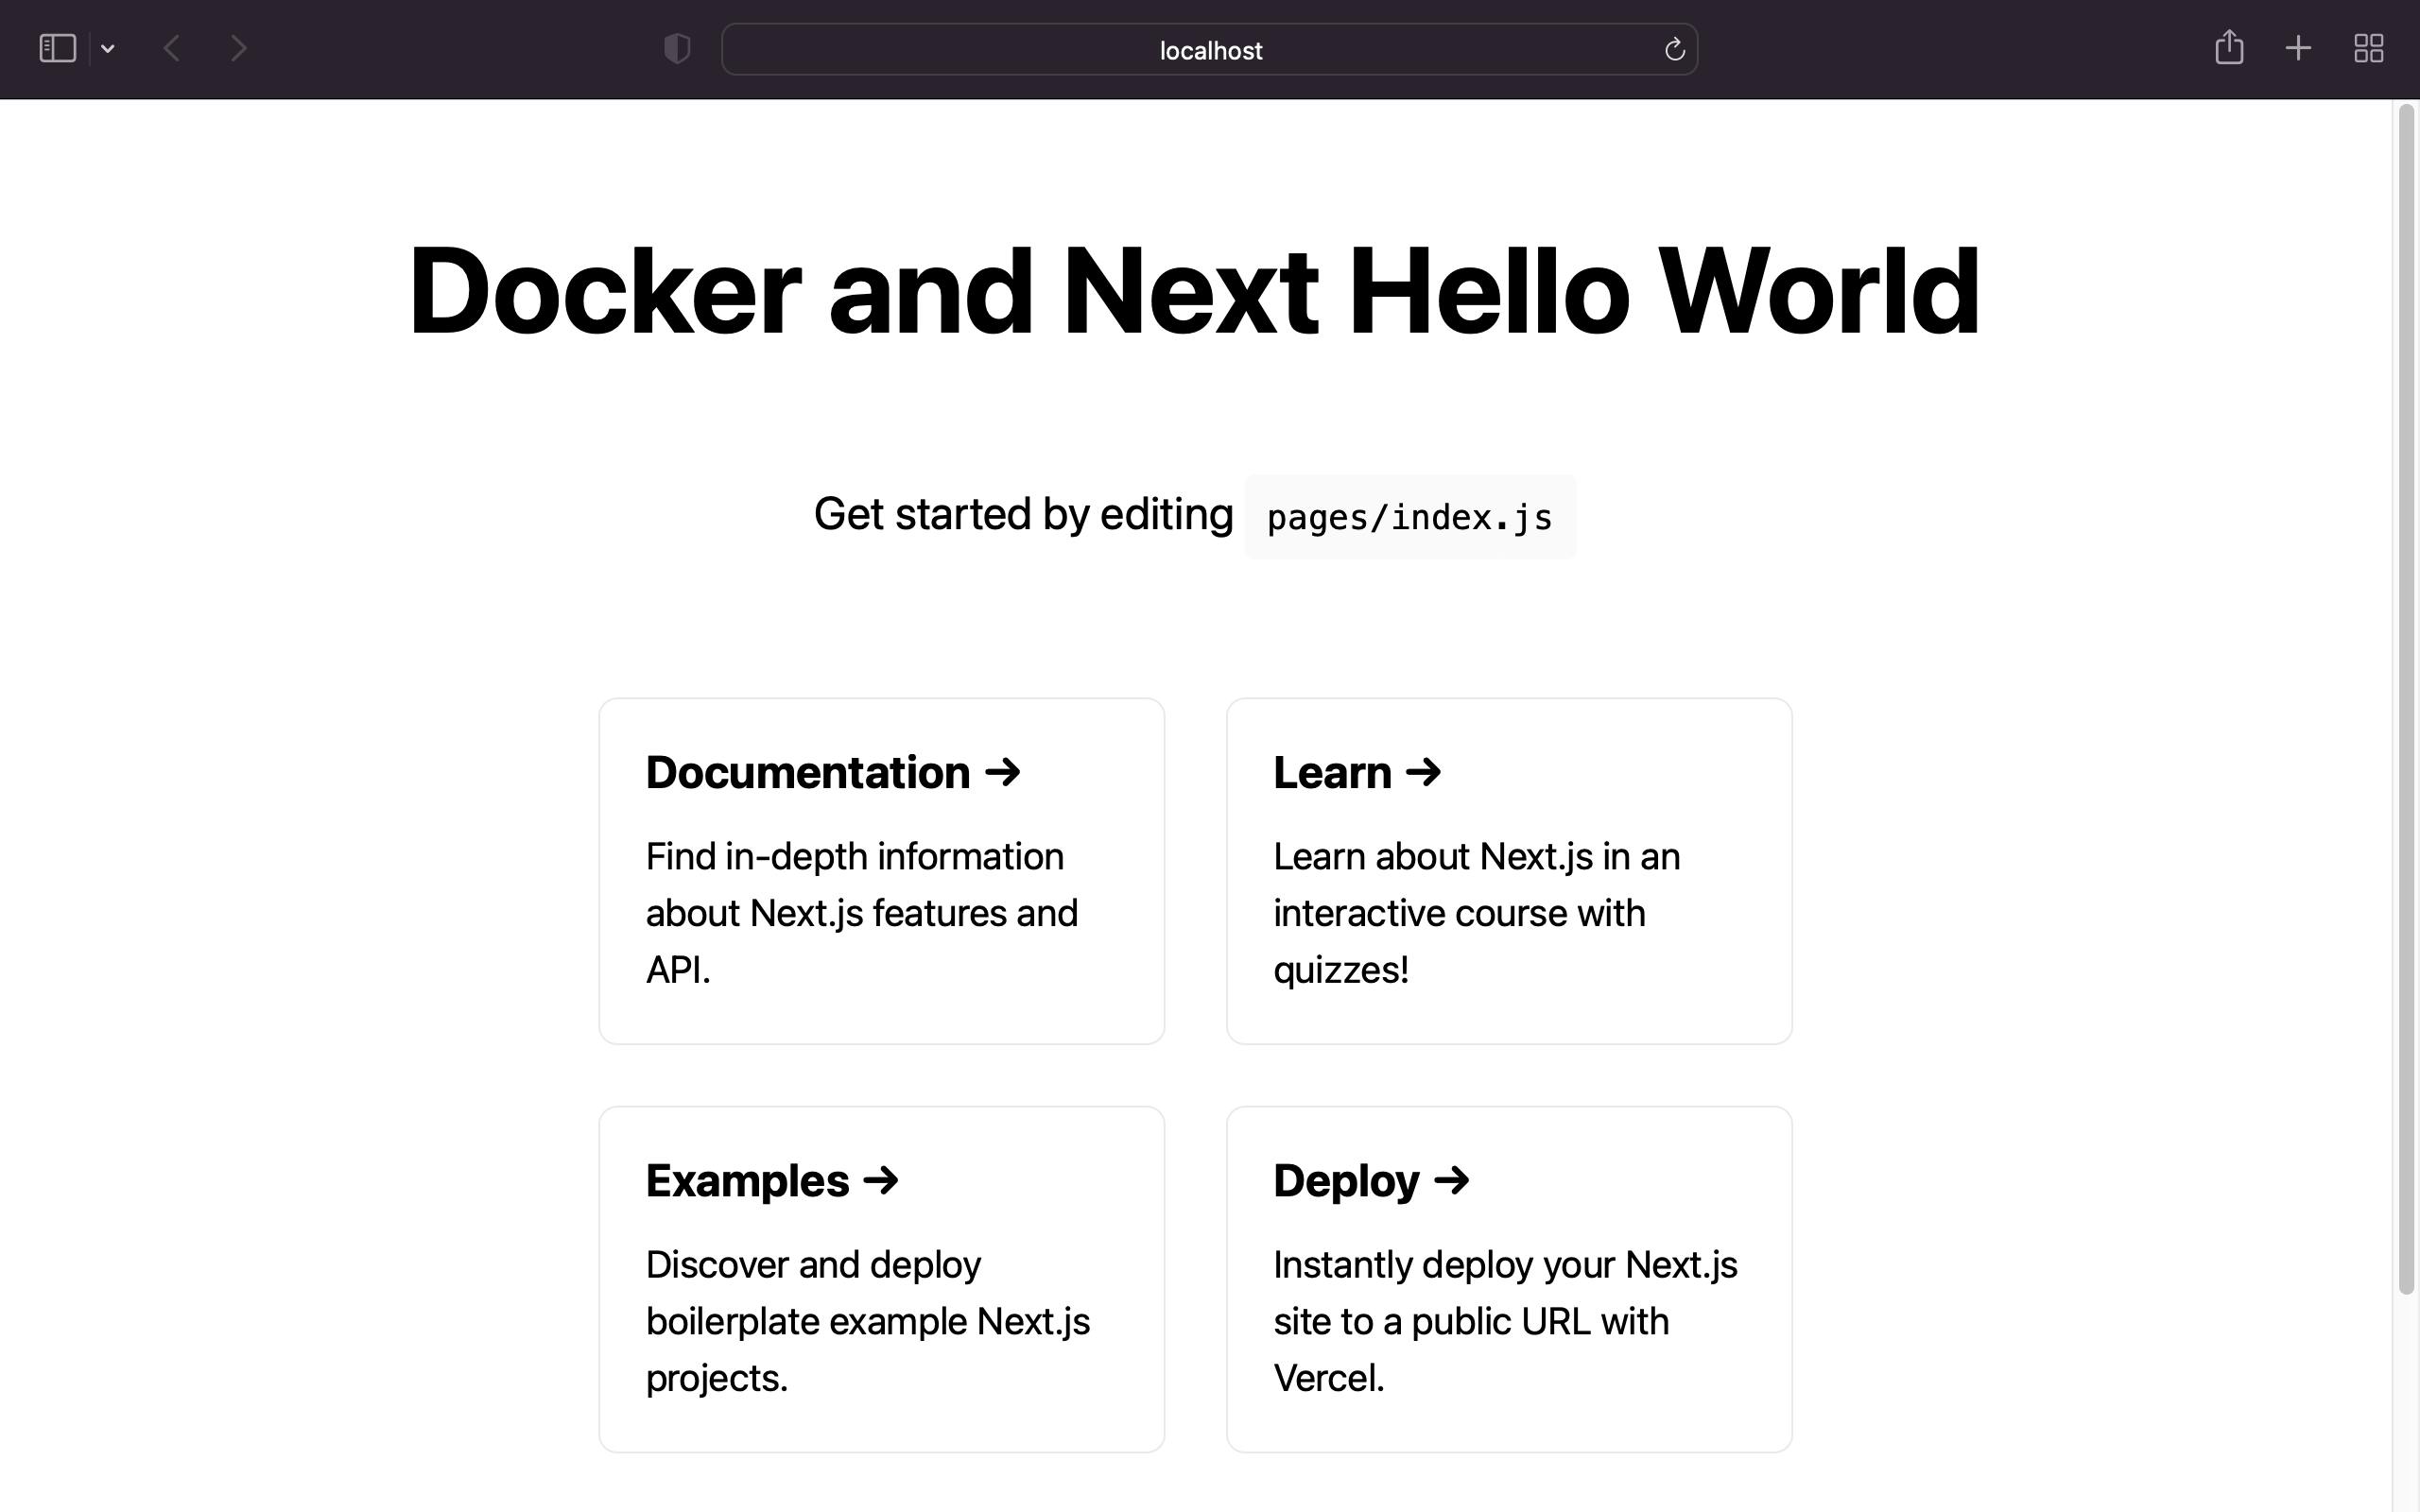
We could now go ahead and remove certain layers from the Dockerfile, since we have already mounted them, in the docker-compose.yml file.
COPY pages ./pages
COPY public ./public
COPY styles ./styles
4. Create Dockerfile.production
We need to create the production file for the Docker container.
Here's the codebase of Dockerfile.production
The crux of adding Dockerfile.production is that we want only an end layer by discarding the intermediate layers.
FROM node:16-alpine AS deps
Here we would be using the same base file but as dependencies.
RUN yarn install --frozen-lockfile
This layer means that the program would use the exact version specified in the yarn.lock.
Now we come to the builder stage
FROM node:16-alpine AS builder
Here we copy our source code directory
COPY pages ./pages
COPY public ./public
COPY styles ./styles
We add the yarn build layer to build our production code.
RUN yarn build
Now comes the final stage.
FROM node:16-alpine AS runner
COPY --from=builder --chown=nextjs:nodejs /app/.next/standalone ./
Next.js can automatically create a standalone folder which copies only the necessary files for a production deployment including select files in node_modules.
In the next.config.js, the outputStandalone should be set as true
  experimental: {
    outputStandalone: true,
  },
In this stage we discard the root user and use the nextjs user in production.
USER nextjs
One of the reason is that if we discard the root user then we limit the codebase changes, thereby making the system reliable and secure.
In order to build the production the last step is to add docker-compose.production.yml
version: '1'

services:
  app:
    image: docker_next
    build:
      dockerfile: Dockerfile.production
    ports:
      - 3000:3000
In order build the production application we type the following command in the terminal.
docker-compose -f docker-compose.production.yml up --build --force-recreate
Now we could go ahead and customise the codebase. Once we are done with the necessary edit then we can build the production application by simply type the command above.
Fork the codebase from here
Thanks for reading